
1. Preparation
Before officially printing, we need to do some basic preparations: prepare the 3D model in STL format, prepare the 3D printer, and prepare the material of the printed object.
(1) Convert the model to STL format
The standard file format for collaboration between design software and printers is STL file format. STL (Stereo Lithography) format is the general interface format used by 3D printing manufacturing equipment at present. It is an interface protocol developed by the American 3D Systems Company in 1988. It is a 3D graphics file format serving 3D printing manufacturing technology. In fact, it has become the standard format for 3D printing manufacturing.
Therefore, if the designed 3D model is not in STL format, converting it to STL format that can be recognized by the printer is a key step in 3D printing. STL uses triangular meshes to represent 3D models. The selection of parameters for outputting STL files will affect the quality of molding. The STL output method of 3D modeling software such as 3ds Max is very simple, but it is necessary to give the model good triangular distribution when the software is modeling. Therefore, if the STL file is rough or polyhedral, you will see the real reaction on the model.
(2) Check and repair STL files
There may be "errors" in the STL file after conversion. These errors can not be considered as errors from the perspective of general 3D models. They can be displayed in the modeling software of Zhengying: but for 3D printing, these errors are very dangerous. If the printer encounters a problem file during the process of printing the model, it will crash and stop printing, because the file section is damaged, resulting in printing failure. Therefore, after the model is made, it is necessary to carry out ST1 check on the polygon face first. Just as the software compiler will check for programming errors, the 3D printer or STL browser will also check the STL file before printing.
Netfabb and Magic are STL file editing software, which can be used to open STL files and display some error information in the model. It contains the basic functions for STL files: analysis, scaling, measurement and repair. 3ds Max software has a very useful STL checking tool, which is located in the modification list of the modification command panel. When the model to be checked is selected and the STL check tool is loaded, the system will automatically calculate the types of errors, and then you can find the types of model errors. In order to check the model quickly, "all" error checking is generally used. After checking, the system will mark the error location in red, and then you can manually modify each error.
(3) 3D printing slicing software
If only one 3D printer can not complete the printing work, it is necessary to install the corresponding 3D printing slicing software on the computer, use it to realize the parameter adjustment of the 3D model, and convert the model slicing into a format that can be recognized by the 3D printer, and finally send the model to the printer for printing. The process of slicing is to layer the model data, and then the 3D printer prints according to the data of each layer, which can be formed by stacking layer by layer.
Good slicing software is the core of 3D printing. Different brands of 3D printers usually correspond to different software. At present, slice software that is widely used and easy to operate include Cura, XBuilder, Makerbot, etc. The quality of slicing software will directly affect the quality of printed items. Therefore, before officially printing, we must prepare the slicing software that the printer can recognize to process the 3D printing model built before.
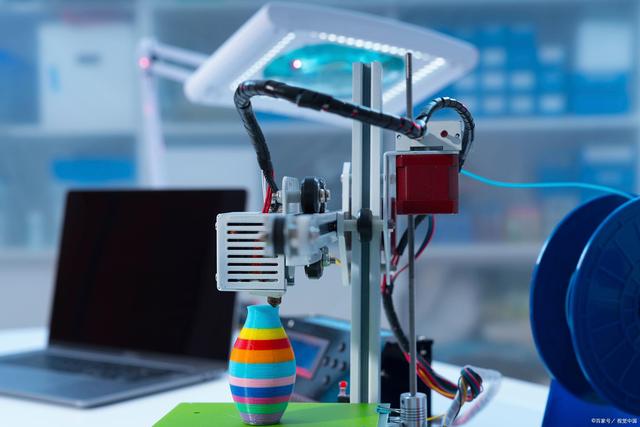
(4) Prepare 3D printers and print materials
There are more and more types and models of 3D printers. You can purchase corresponding printers and consumables according to your actual needs. At present, in the domestic 3D printer market, except for some manufacturers that independently develop printers, most manufacturers build their own brands on the basis of open source printers. For the open source 3D printer, its parts can be manufactured according to the drawings and then assembled into a fully functional printer. Therefore, in the 3D printer market, there are both 3D printers sold by the complete machine (no need for users to assemble) and 3D printers sold by DIY sets. After the users purchase them, they can assemble their own 3D printers according to the instructions.
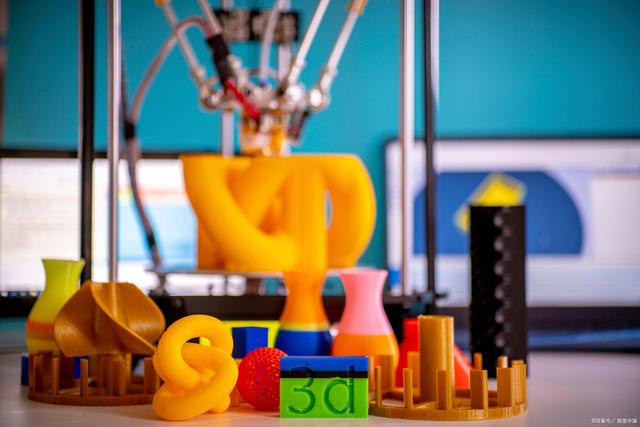
3) Print materials.At present, the most commonly used materials for desktop 3D printers are PLA and ABS. Both are engineering plastics with good thermoplasticity, and are usually used to print object models. In addition to the two commonly used 3D printing materials, there are also photosensitive resin liquid materials, metal, ceramic powder and other materials. Of course, the materials applicable to different models are different. The printing materials should be prepared according to the needs of the printed items and installed on the printer so that the machine can feed silk normally.
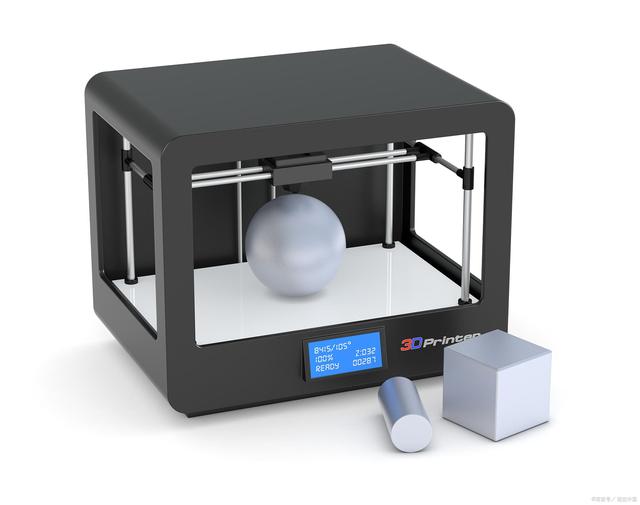
2. Online printing and SD card printing
Each printer has slightly different operation in the specific printing process, but the overall steps are similar.
(1) Slicing software directly controls machine printing
1) Open the slicing software and select Add Model.
2) Generate X3G files. After adding the STL model, click Print Settings to set specific parameters. Generally, the printer will have the original data record, which is mainly to modify the platform temperature according to the material, select the layer thickness according to the thickness of the printed object, select whether to support the basic data according to the shape of the object, and then output the X3G format to the location you want to save.
Note that when it is a double-head printer, the left head print, set the right head temperature to "0", and select the left head print support; When printing at the right head, set the temperature at the left head to "0" and select the right head printing support; When printing different materials, use the right head to print the model, and check the left head to print the support. Because the printing method of direct connection is inefficient, it is recommended to copy the X3G file generated by the software to the root directory of the SD card, and then insert the SD card into the printer for printing.
(2) Print with SD card
Import the X3G file into the SD card, and you can directly operate the printer keys to print.
1) Find the SD card slot on the printer, press the front of the SD card forward into the card slot on the right side of the key, and note that the memory card must be aligned with the card slot and then pressed in.
3d printing
2) Turn on the printer power switch.
3) Press the down key to select "SD card file", press the middle key to confirm, and the list of X3G files saved in the SD card will be listed on the screen.
4) Select the file you want to print by pressing the up and down direction keys, and press the middle key to confirm.
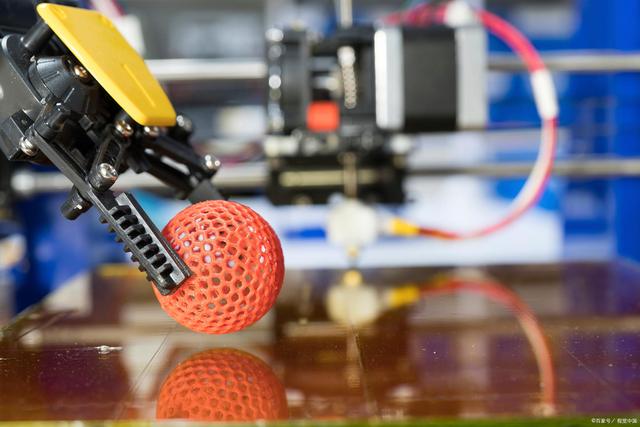
5) The machine is ready to print. The backplane and ink head start to warm up. The screen displays the current temperature of the backplane and ink head and the heating progress.
7) After the heating is completed, start the printing task, and the screen will display the task completion progress and the current temperature of the backplane and ink head.
8) When the printing progress reaches 100%, the screen displays that the printing is complete, the secret sends out a music prompt, the bottom plate is lowered to a lower level, the ink head returns to the initial position, and the printing is completed.
(3) End printing
After printing, the nozzle will automatically return to its original position. To facilitate the removal of the printed model, you can first lower the printing platform, and then gently scrape the model off the platform with a scraper. If there is enough time, you can also remove the model from the platform after it cools down (the vertical direction of the platform of some 3D printers is fixed and cannot be lowered).
When the remaining material on the rack is not enough for the next printing or the color needs to be changed, the material must be returned and renewed first, and then the printer must be replaced with new material.
Related News